Curious about the secrets of tubeless setups? Thinking about switching your bike to a tubeless system? Then this article is for you! We’ll walk you through everything you need to know about this game-changing setup that helps you avoid surprises and lets you ride or race without worrying about flats.
More and more bikes especially mountain bikes are coming equipped with tubeless wheels. If you’re already familiar with the system, you probably know it doesn’t just help avoid flats it actually seals most punctures on its own, without any mechanical help. But if you’re new to the whole tubeless thing, don’t worry we’re about to break it all down for you. First off, you should know it’s mainly used in mountain biking because flats are more common off-road, and the extra weight of a tubeless tire is more than worth it thanks to how well it handles punctures. Plus, tubeless tires let you run lower pressure, which means better grip and traction on the trails.
Now, some riders might think that going tubeless means saying goodbye to flats and wheel maintenance forever. Not quite. Sure, it seals most punctures so you can keep riding or racing without stopping, and you’ll definitely cut down on mechanical issues. But a tubeless setup still requires regular maintenance and proper installation to make sure it works perfectly and stays in top shape.

What is a Tubeless System?
First things first let’s take a look at what a tubeless system actually is. As the name suggests, it’s a setup that works without an inner tube. That means it’s just the rim and the tire. The air is held directly inside the tire, along with a special sealant fluid. This sealant is what quickly plugs small holes or punctures as soon as they happen. To inflate the tire and handle maintenance like adding more sealant fluid you’ll also need a tubeless valve, specially designed for this kind of setup.

What’s the Difference Between Tubeless and Tubeless Ready?
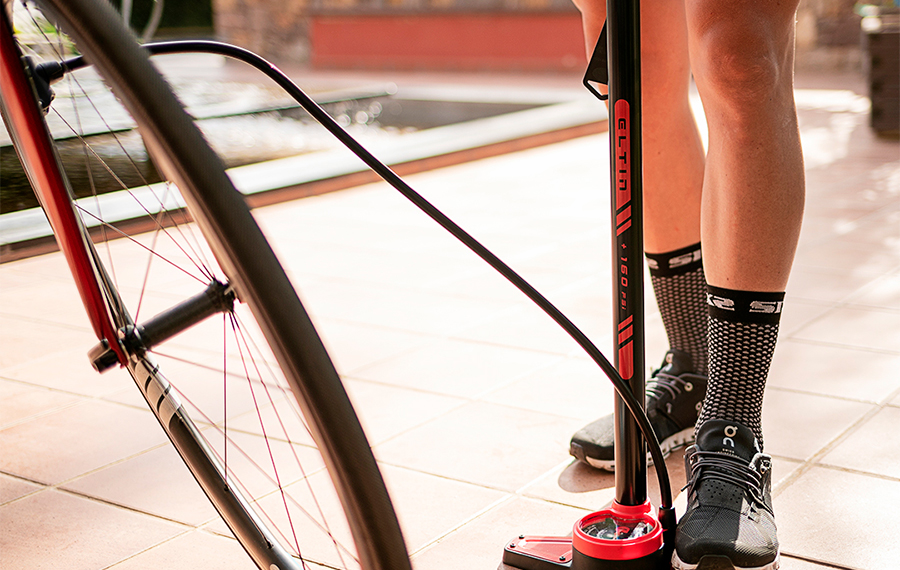
By now you know what a tubeless system is, how it works, and what parts it includes and maybe you’re already using it on your bike. But then you come across terms like “tubeless” and “tubeless ready” rims, and you’re left wondering what the difference is. Don’t worry, it’s a bit confusing at first, but once you know the key differences, it’s actually pretty easy to understand.
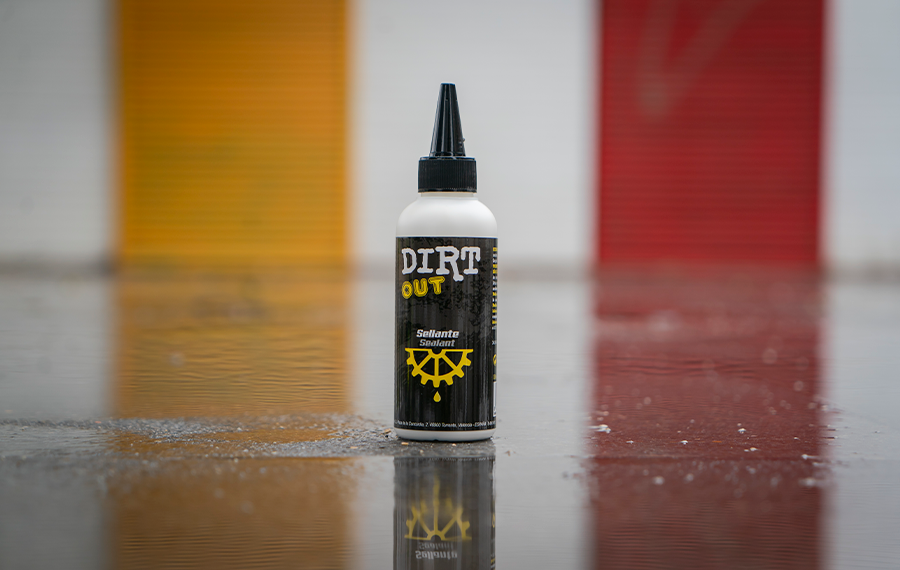
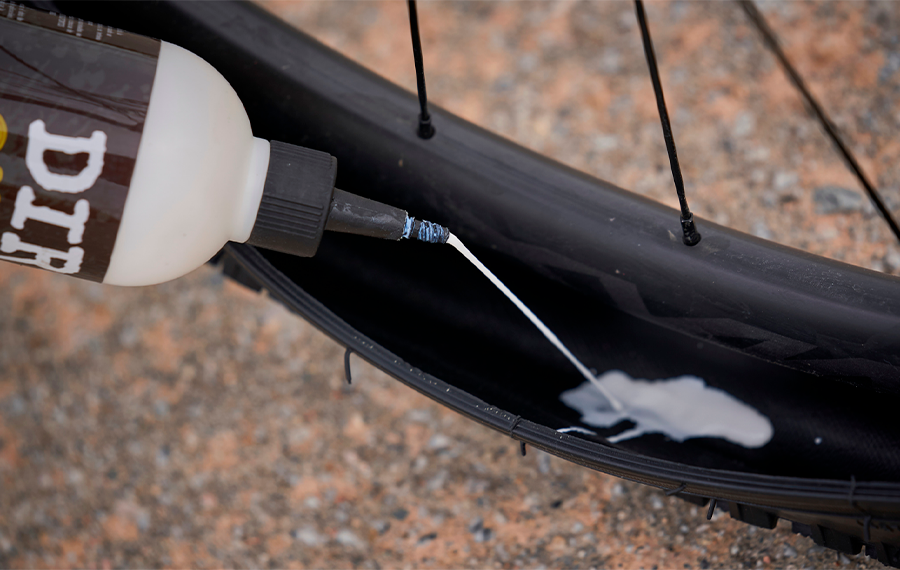
The main thing to know is that tubeless rims are completely sealed except for the valve hole. All the spokes are fixed from the outside, so the rim is airtight meaning once the tire is seated properly, there’s no way for air to escape. You might be thinking that sometimes the tire doesn’t seat perfectly and you lose air… and you’d be right. That’s why these rims are designed with a special bead and groove system that helps the tire lock into place securely, reducing the chance of it coming off. The tire itself also needs to be fully airtight, with an inner coating that prevents any leaks or air loss. Even though a truly airtight setup technically doesn’t need sealant, most riders still use it to fix small punctures and give themselves extra peace of mind.
On the other hand, tubeless ready rims can be used with either inner tubes or tubeless tires. Unlike full tubeless rims, they’re not completely sealed and have more openings than just the valve hole, so they need a bit of extra prep to work tubeless. That’s where a rim strip or tubeless tape comes in it blocks air from leaking out through the spoke holes. These rims also have a special groove to help keep the tire in place, making sure it stays seated and doesn’t lose pressure.
How to Go Tubeless on Your Bike
Let’s take a look, step by step, at how to install a tubeless system on your bike wheels. As we saw earlier, there are two types of rims: tubeless and tubeless ready. In this guide, we’ll focus on tubeless ready rims, since they require all the steps and components involved in a full tubeless setup.

1-Clean the Rim of Your Bike Wheel
The first thing you need to keep in mind and even if it doesn’t seem like it, it’s super important is cleaning the inside of the rim. The tape needs to stick properly to seal well, so the rim has to be clean and free of any residue. You can do this with a clean cloth and some solvent or rubbing alcohol. Also, make sure the spoke heads don’t have any sharp edges or burrs that could damage the tape when you apply it.
2 – Install the rim tape or tubeless tape
With the rim clean, it’s time to apply the tubeless tape to seal it up airtight. There’s no single rule or exact number of wraps you have to follow. That said, a good tip is to start just before the valve hole and wrap the tape around so it passes over the valve area three times for better sealing.
As you apply the tape, make sure to keep it tight and stretched so it seals properly and doesn’t leave any air bubbles. When it comes to tape width, check that it fully covers the rim bed and generously overlaps the spoke holes to ensure an airtight fit.
3 – Insert the tubeless valve
Using a small punch or a screwdriver, make a hole in the tape and insert the tubeless valve through it, always pushing it from the inside of the rim outward. Once it’s in place, screw on the nut and tighten it by hand to keep the valve securely in position.

4 – Mount the tubeless tire and add the sealant
Fit the tire onto the rim, leaving one side unseated on the opposite end from the valve — that’s where you’ll pour in the sealant fluid. The amount will depend on the brand, the type and size of the tire, and whether it’s tubeless or tubeless ready. For a 29-inch tubeless ready tire, around 100 ml is usually about right. If it’s your first time adding sealant, it’s a good idea to use a bit more to make sure it fills and seals all the pores properly.

5 – Finish mounting the tire and inflate the wheel
Once you’ve added the sealant, carefully rotate the wheel so the liquid spreads evenly, and finish seating the tire onto the rim. It’s a good idea to use a compressor or a pump with an air chamber to deliver a strong burst of pressure — this helps the tire pop out to the sides and seat properly with less effort. That said, you can also get the job done with a regular floor pump if needed.

6 – Spin the wheel and check that the tire is properly seated
This is one of the final steps — and an important one. Once the tire is mounted, spin it and give it a few bounces to help the sealant spread evenly around the rim, making sure all areas are well protected. As you do this, check that the tire is properly seated all the way around and that it’s not sitting deeper on one side than the other, or showing any uneven spots along the rim.
Maintain Your Tubeless System
First of all, it’s important to know that a tubeless system works best when you ride your bike regularly. If the bike sits unused for a long time, the sealant can settle in one spot and dry out, losing its effectiveness.
A tubeless setup needs proper maintenance to keep working well. Since the sealant gradually dries up as it seals small punctures, it’s a good idea to top it off about every 2 months or so. The easiest way to do this is by removing the valve core and adding sealant through the valve.
In addition to topping it up, every 6 months it’s a good idea to go through the full setup process again: clean the rim thoroughly and replace the old sealant entirely. Keep in mind that things like hot weather and high mileage can cause the sealant to wear out faster so during warmer months or if you're riding a lot, it’s smart to check and refresh the sealant more often.

We hope this article has cleared up a lot of your doubts about the tubeless system and helps you out when setting it up on your bike. If you follow all the steps properly and keep up with regular maintenance, we’re sure it’ll be a system that saves you from lots of flats and mechanical hassles.
If you have any questions or need more info, feel free to leave us a comment or get in touch through our social media.
#KeepOnCycling