When should you change them? Which ones should you choose? How should you look after them? Don’t get caught out by your brakes. Discover everything you need to know about your brake pads here.

When it comes to safety on the bike, keeping your brakes in good condition is essential. And today, with disc brakes having become practically standard on MTB, road and gravel bikes, paying attention to the condition of your brake pads is more important than ever.

Although they are a small component that we often forget about until they start causing problems, brake pads are responsible for generating the friction needed to stop the bike. Wear, contamination or inadequate maintenance can significantly reduce braking performance and, as a result, compromise your safety.

In this article, we answer some of the most frequently asked questions about brake pad maintenance to help you keep your braking effective, safe and always ready to perform.

1. How do I know which brake pads are compatible with my bike?

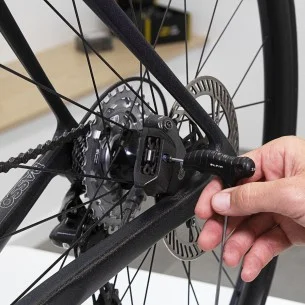
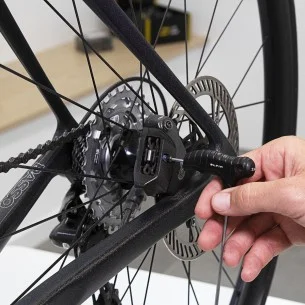
The first step is to identify which brake model is fitted to your bike. To do this, look at the brake calliper, not the brake levers. You will usually find the brand, model or a reference code marked on it. For example, on Shimano Deore brakes you might find a reference such as BR-M6100.

With this information, check the brake pad description in the online store, where you will find the compatible brake models, or give the reference to the shop staff if you are buying in person.

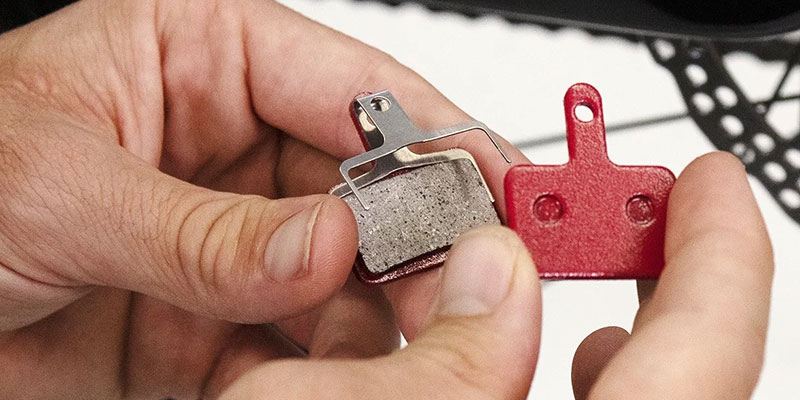
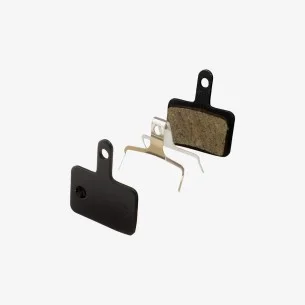
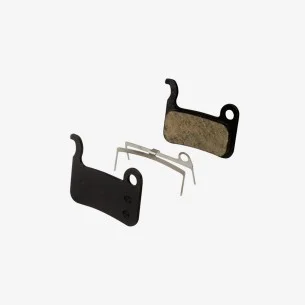
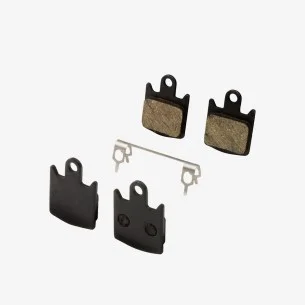
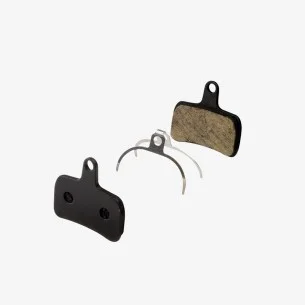
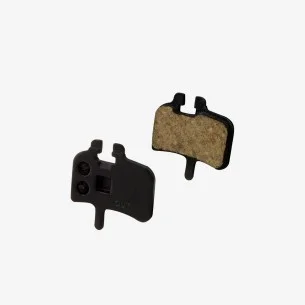
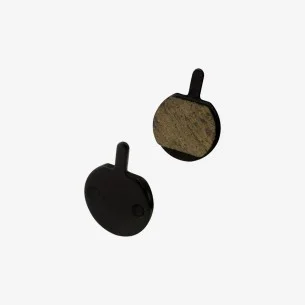
Before buying them, you should also compare the shape of the pads currently fitted to your bike with the image of the new ones. The outline, mounting points and other details should match. It is a simple check that will help ensure you are choosing the correct model.

2. Are there different brake pad compounds?

Yes. The two most common compounds are organic and sintered or metallic brake pads, although organic pads are the most common and are fitted as standard to many bicycles.

Organic pads offer good braking feel, are quiet and cause less wear to the disc, although they wear more quickly, especially in wet and muddy conditions. Metallic or sintered pads are more resistant and durable, cope better with high temperatures and adverse conditions, although they can be noisier and cause more disc wear.

There are also specific brake pads for e-bikes, designed to better withstand the additional weight and greater braking demands of electric bicycles.

The choice will mainly depend on the type of bike, how you use it and the conditions you usually ride in.

3. What is the difference between brake pads with and without cooling fins?

Cooling fins help dissipate the heat generated during braking, reducing overheating when the brakes are subjected to intensive use. They are particularly useful on long descents or during hard, sustained braking.

Pads without fins, which are the most common, are simpler and also more affordable, making them perfectly suitable for less demanding use. Pads with fins usually have a higher price because of their heat-dissipation system, but they are not always necessary.

If your bike comes fitted with finned pads as standard, you can replace them with pads without fins as long as they are compatible with your calliper.

In all cases, always check that your brake calliper is compatible with the model you choose.

4. How do I know when I need to change my brake pads?

There are several signs that indicate it is time to inspect or replace your brake pads:

The most common is noticing a loss of feel or braking performance when you operate the brake lever.

If you notice this, or simply as part of your regular maintenance even if you do not, it is advisable to carry out a visual inspection. If the friction material is heavily worn and is getting close to the metal backing plate, it is time to replace the pads. Do not wait until they are completely worn out, as you could end up damaging the disc.

Finally, if your brakes make a lot of noise and have noticeably lost braking power, the pads may be contaminated. In this case, you will need to assess whether they can be recovered or whether replacing them is the better option.

5. Why do brake pads make noise when braking?

Brake noise can occur for several reasons, and it does not always indicate a problem.

One of the most common causes is contamination of the pads or disc with oil, grease or cleaning products, which will normally also lead to a loss of braking power. In this case, the pads will probably need to be replaced.

Noise can also be caused by dirt, moisture or water, especially after riding in the rain or washing the bike. In these cases, the noise will usually disappear once you start riding again and the system becomes clean and dry. This is not always harmful, as brake pads are designed to withstand these elements to a certain extent.

If the noise persists, you should also check pad wear, their correct positioning and the condition of the disc to identify the source of the problem.

6. Can contaminated brake pads be recovered?

In general, contaminated brake pads cannot be reliably recovered in the long term. If oil, grease or other substances have penetrated the friction material, replacing them is the safest option.

Some cyclists try to recover them by lightly sanding the surface, and in certain cases they may appear to brake correctly again. However, if the contamination has penetrated the material, the problem will eventually return.

For safety reasons, we do not recommend this method or other home remedies such as burning or heating the pads. As well as not guaranteeing a lasting solution, these methods can also be dangerous. In the event of significant contamination, new brake pads are the safest and most effective option.

7. How can I tell whether the problem is with the brake pads or the disc?

The first step is to visually inspect both components. On the brake pads, check that there is still enough friction material remaining and that the wear is even. If they are almost down to the metal backing plate, it is time to replace them.

On the disc, look for deep grooves, warping or excessive wear. Many discs have the minimum thickness recommended by the manufacturer marked on them, which you can easily check using a vernier calliper. If the disc is below this measurement, it should be replaced.

You can also look at its appearance: if the disc is so worn that its edges look extremely thin and almost sharp, it is almost certainly time to replace it. In fact, mechanics sometimes say informally that a disc is “like a razor blade” when it reaches this point.

Remember that the disc and brake pads work together, although the pads will usually wear out much sooner because the disc is designed to last longer. However, riding with excessively worn pads can accelerate disc wear and may even damage it.

8. Why do brake pads wear unevenly?

If one pad wears more quickly than the other, this may be caused by a poorly centred calliper, accumulated dirt or one of the pistons not moving correctly. This causes one pad to apply more pressure to the disc and therefore wear out faster.

If the problem continues after properly centring and cleaning the calliper and you suspect the pistons may be responsible, it is best to leave the repair to a professional. Incorrectly handling them can cause damage and, with hydraulic brakes, may even lead to a fluid leak and complete loss of braking power.

As well as posing a safety risk, damaging a piston may mean you have to replace the entire calliper, turning a small maintenance job into a much more expensive repair.

9. How can I extend the life of my brake pads?

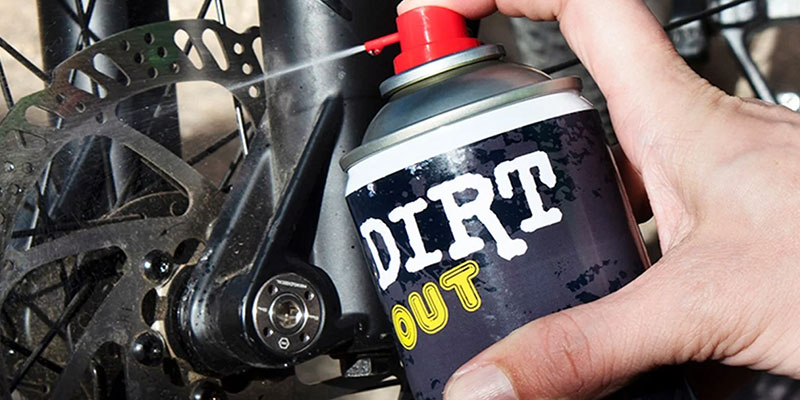
One of the best ways to extend the life of your brake pads is to prevent contamination. They are more vulnerable than they might seem, so avoid using any kind of spray near your brakes: lubricants, degreasers, frame polishes and even everyday household products such as air fresheners or spray sunscreen.

You should also take care when washing your bike. If you use the wash area at a petrol station, avoid the soap dispensed by the machine itself, as it may contain products that could contaminate the discs and pads.

Always try to keep your discs clean. To do this, use isopropyl alcohol or a dedicated brake cleaner and clean kitchen paper. This is preferable to using a reused cloth, which may contain traces of grease, detergent or other products that could be transferred to the disc.

On descents, try to avoid keeping the brakes continuously applied. Whenever possible, brake more firmly and allow short intervals between braking so the system has time to cool and excessive temperatures can be avoided.

Finally, regularly check that the pads are not constantly rubbing against the disc. Good maintenance and, above all, preventing contamination will help you get more life out of them.

10. Is it easy to change brake pads at home?

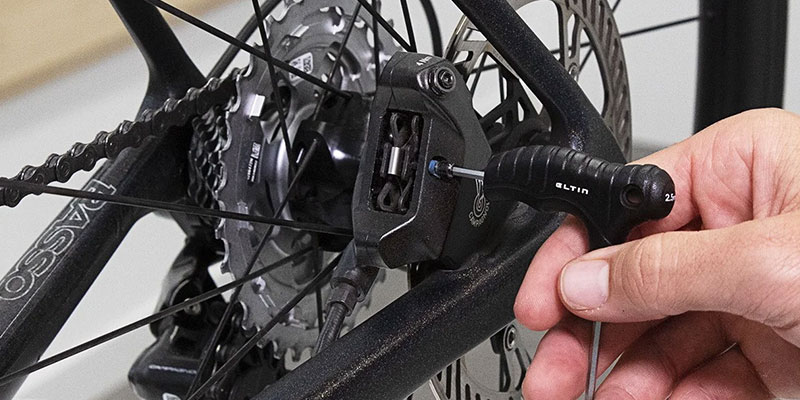
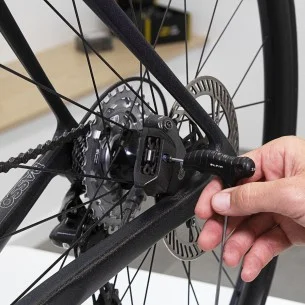
Yes. Replacing brake pads is a relatively simple job if you have a few basic tools and work carefully.

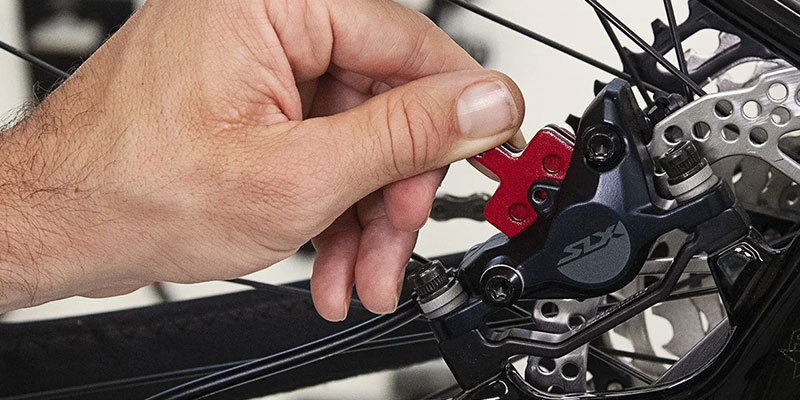
  1. Remove the wheel to give yourself easy access to the brake calliper.
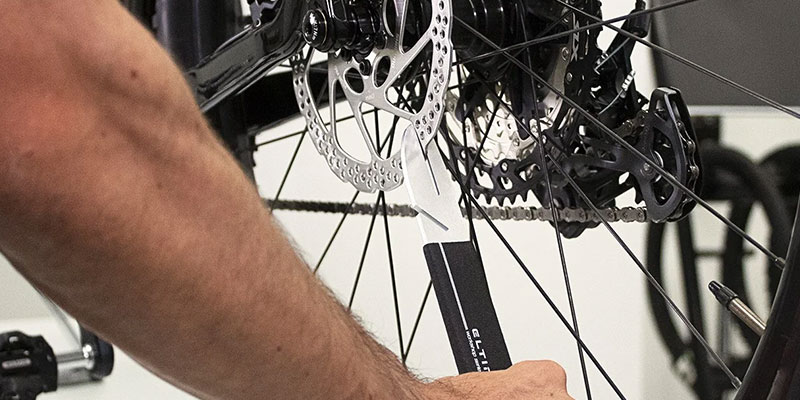
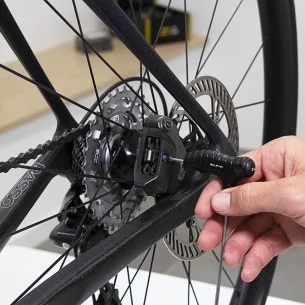
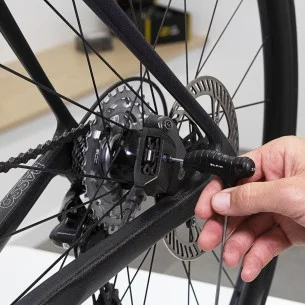
  2. Push the pistons back before removing the old pads. Insert a suitable tool between the pads and gently press them apart to push the pistons back. Doing this while the old pads are still fitted helps prevent damage to the pistons and avoids touching or contaminating the new pads.
  3. Remove the retaining pin, clip or screw that holds the pads in position.
  4. Remove the worn pads together with the pad spring.
  5. Fit the new pads, taking care not to touch the surface of the friction material with your fingers.
  6. Refit the spring and retaining pin or screw, checking that everything is securely fastened.
  7. Refit the wheel and make sure the disc is correctly positioned between the two pads.
  8. Operate the brake lever several times until the pistons move back towards the disc and you regain a firm braking feel.
  9. Check that the wheel spins correctly and that the brake works properly before riding.

And remember: with hydraulic brakes, never operate the brake lever when both the wheel and brake pads have been removed, as the pistons could come out of their housing. If you notice any problem with the pistons, a fluid leak or are unable to adjust the brake correctly, it is best to take the bike to a professional workshop.

Here are some of the products mentioned in the article

Brake pads

Find the brake pads that are compatible with your brakes and choose from different compounds and options according to your needs.

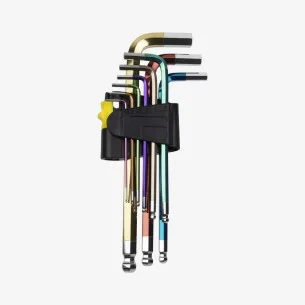
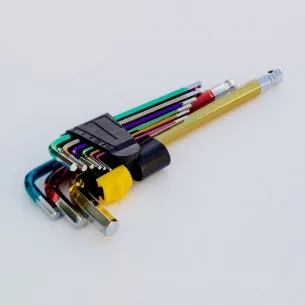
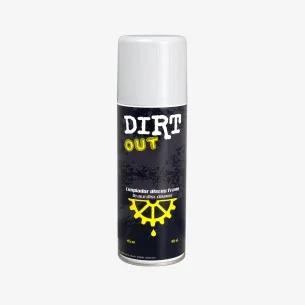
Tools for replacing brake pads and extending the life of your brakes

Everything you need to replace and adjust your brake pads easily and safely, or to keep your discs and pads clean.

Taking care of these details and carrying out regular maintenance on your bike will allow you to enjoy every ride with greater safety and avoid problems that could arise at the worst possible moment.

Knowing your bike, checking its components and anticipating wear is the best way to keep it ready for your next ride.

Want to keep learning?

Discover more tips and content on our blog!

Product added to wishlist