Shopping Cart
There are no more items in your cart Do you want to learn some super useful tips and tricks for your bike's mechanics? Here comes the first episode of a very interesting mechanics course brought to you by BiciLAB. Let’s get started!
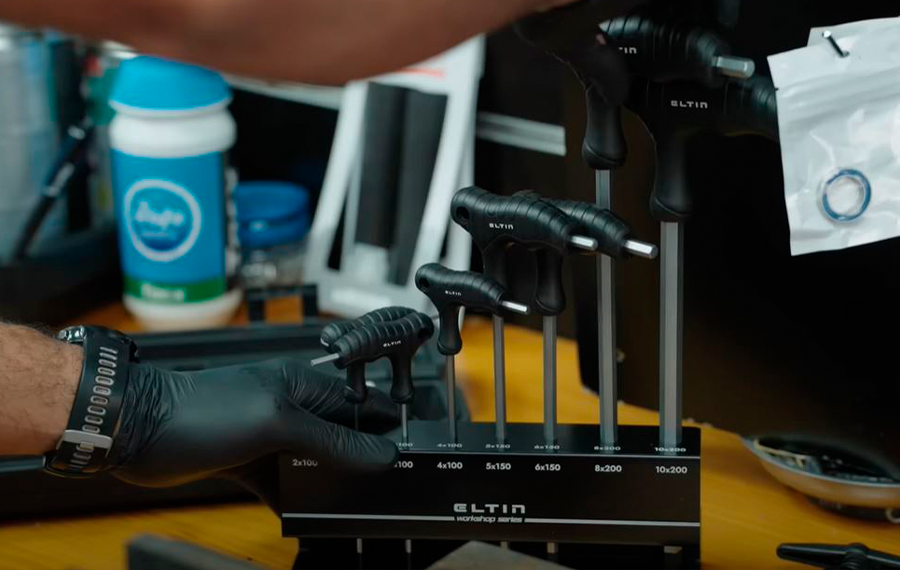
Eltin Workshop Series regroupe tous les produits d’atelier, comme les outils et les pièces de rechange, de la marque Eltin Cycling. Mais c’est bien plus que cela. Eltin Workshop Series va plus loin cela inclut également toutes les initiatives et collaborations mises en place par la marque dans le but de faciliter les opérations mécaniques pour les utilisateurs, en veillant à ce que leurs vélos soient bien réglés et offrent les meilleures performances pendant les sorties.
Portée par cet objectif, l’une des collaborations les plus enthousiasmantes et attendues voit le jour : Eltin Cycling et BiciLAB unissent leurs forces pour lancer un cours de mécanique accessible à tous.
Known for their videos on their YouTube channel and their engaging podcast conversations, they’ve built a community around them made up of cycling enthusiasts who follow them for the way they communicate and for their interesting, dynamic, and entertaining content. If you already know them, you surely know what we mean — and if you don’t, we highly recommend you check them out. You won’t regret it!
From the moment we got to know BiciLAB, we saw that it could be very interesting to start creating content that would help users improve their experience as cyclists and, ultimately, enjoy cycling even more. Mechanical interventions, the way to proceed, and what needs to be checked, inspected, or replaced are things that often overwhelm many cyclists — maybe even you. That’s why we felt the best option was to focus this collaboration on helping you decode many of these tasks in a simple and visual way, thanks to BiciLAB’s unique communication style.
The course will cover various topics related to bike mechanics, each of them featuring a video on YouTube, Instagram reels, and an article like the one you’re reading, where we’ll summarize the most important points. New content will be published regularly across all these platforms and is accessible to everyone, so you can refer to it whenever you need. The goal is for it to be genuinely useful, an easy and enjoyable way to learn about mechanics, and for these resources to become your go-to tutorials.
So, let’s get started with the first installment of this course: 7 essential adjustments you must make to your bike whenever it’s new or has been unused for a while. Below, you’ll find the full video, and further down we summarize all the content step by step. Let’s get to work!
Many times, when you buy a bike, it comes assembled without pedals. So before installing them, make sure to apply plenty of grease. Once greased and before mounting them, remember that the left pedal thread goes on the left side, and the right on the right. After placing them, use an Allen key from the inner side of the crank to tighten them properly. Always keep this tip in mind: “tighten forward”. Make sure to follow the recommended torque and ensure they’re securely fastened.
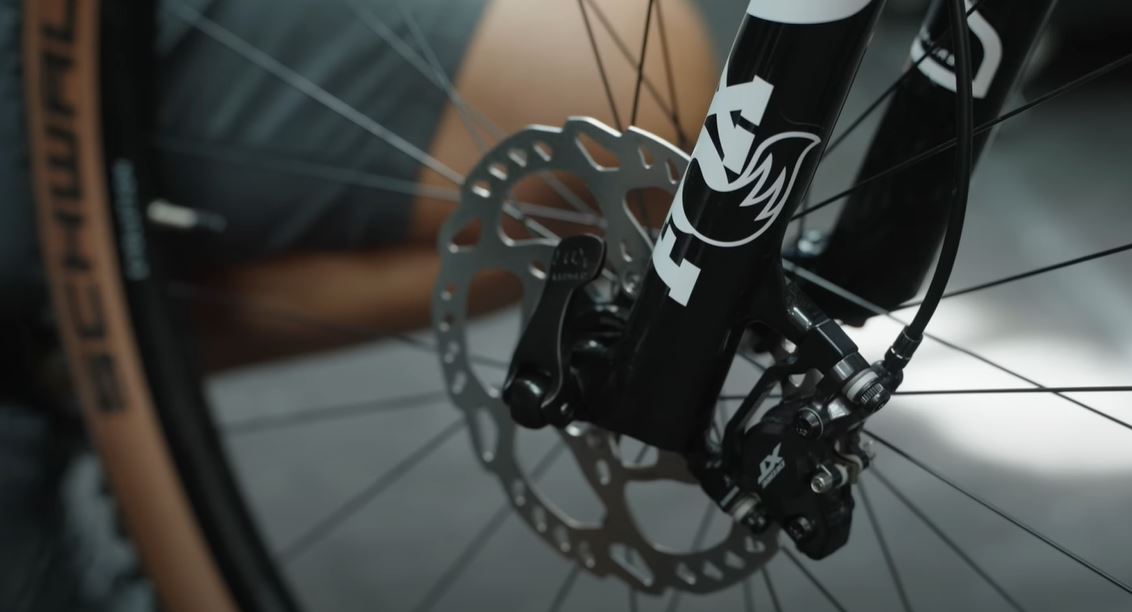
If the bike comes without the wheels, you’ll need to install them, and it’s extremely important to tighten them correctly. Also, if you own a bike, you’ve probably experienced this situation before — you often have to remove one or both wheels to transport it in a car, so proper reinstallation and adjustment are just as important.
With the appropriate Allen key, check that the axle bolt is properly tightened. As with all bike bolts, using a torque wrench will make the job much easier, as it allows you to apply the correct torque. But if you don’t have one, a regular Allen key will do just fine.
If the wheel has a quick-release lever, you should close it once it feels tight. It’s quite common for it not to end up in a perfectly straight or “natural” position. That depends on personal preference, but a good position is to have it pointing upward, parallel to the fork. To achieve this, you can adjust the tightness of the bolt on the opposite side until the lever locks firmly in the desired position. This bolt is usually marked like a clock, so remembering the correct “number” and adjusting it a few degrees forward or backward is a quick and easy way to fine-tune it. You’ll see how this works clearly in the video.
Very important! The wheel bolts tend to loosen little by little with use and mileage, which can lead to squeaks and annoying noises. To prevent this, make sure to check the tightness every 5 or 6 rides. It’s a key maintenance task.
To adjust the handlebar angle, you need to use the bolts that connect it to the stem. It’s important to make sure it is properly centered, and for that, you can use the markings on the handlebar as a reference. Then, choose the angle you want for the handlebar. The recommended position is for the curve to be slightly tilted upward, toward your chest, but not too much so the ends don’t point upward. In the end, this depends on personal preference and ergonomics — ideally, you should get a bike fit for the most accurate adjustment.
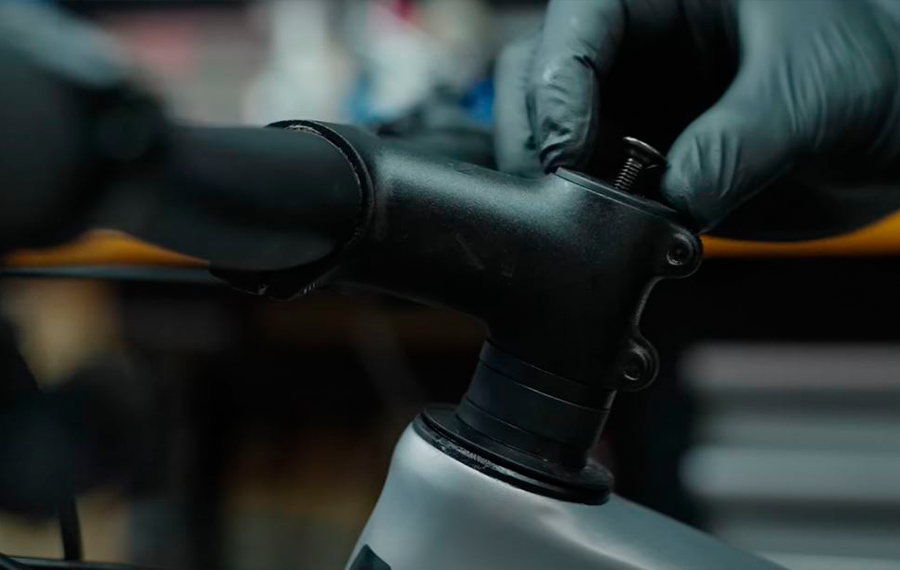
Adjusting the a-head headset means adjusting the height at which the handlebar sits. It typically involves three bolts — two on the stem and one on the top cap. To make this adjustment, you can play around with the headset spacers. If you want a more “racing” or lower position, you can remove one or more of these spacers to lower the handlebar and then place them on top to close the cap again.
A very common practice, once you’ve found your ideal position, is to cut the excess steerer tube so it doesn’t stick out above the stem. This is fine, but it’s advisable to leave one spacer on top after cutting, to ensure the stem clamps better onto the fork tube.
Once you’ve finished this process and go to tighten the top cap to close the headset, do NOT overtighten, as this is not good for the bearings. Tighten it just enough to eliminate any play, but don’t go too far.
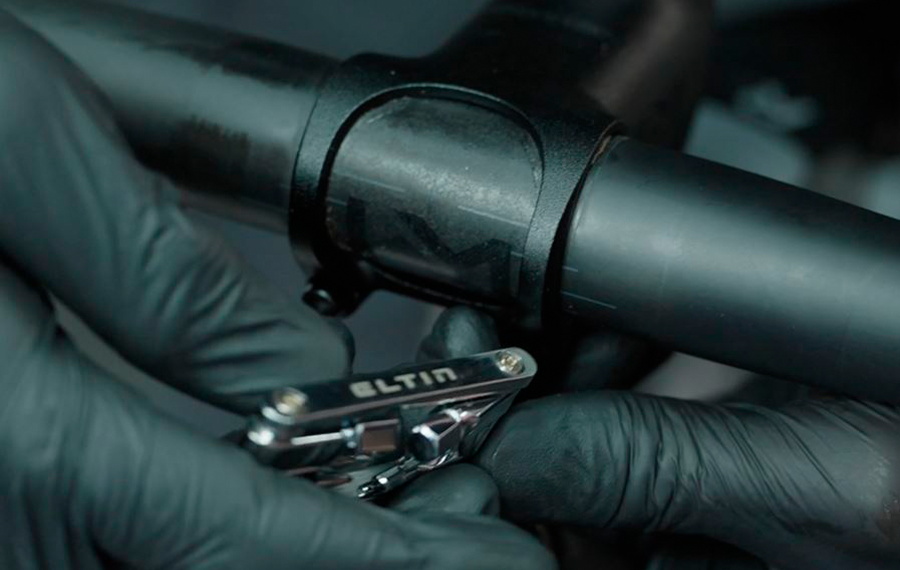
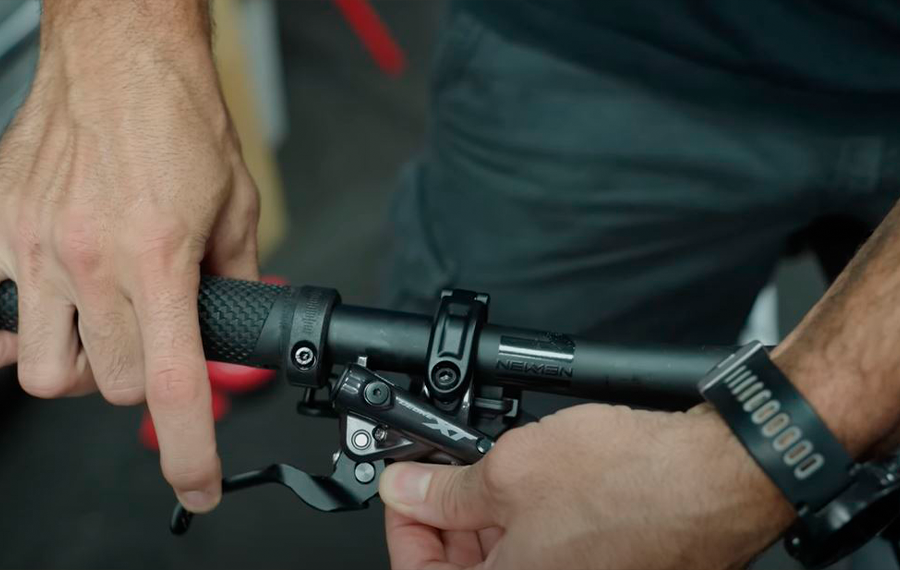
When adjusting the brake lever, an important first tip is not to place it too close to the grip, as this can cause hand chafing during your ride and become uncomfortable. Once you consider this, the position will depend on your preferences. Using a small Allen key, you can adjust the distance between the brake and the shifter both longitudinally and vertically — that is, the space between them. The best approach is to try different positions and see which one feels most comfortable for you.
After that, you need to adjust the distance between the grip and the brake lever. Keep in mind that your finger applies the most force when it's at a right angle, so ideally, the lever should have some travel, but when the pad fully contacts the disc and engages the brake, your finger should be pressing the lever at exactly 90 degrees.
Finally, you need to adjust the angle of the brake lever relative to your riding position. When you're seated on the saddle, the lever should align with the natural position of your extended arm so your wrist remains as comfortable as possible.
It’s worth noting that once you’ve adjusted one lever, you need to match the other. To make this easier, it’s recommended to use a measuring tape to check the distances on one lever and replicate them on the other. What works on one should work just as well on the other.
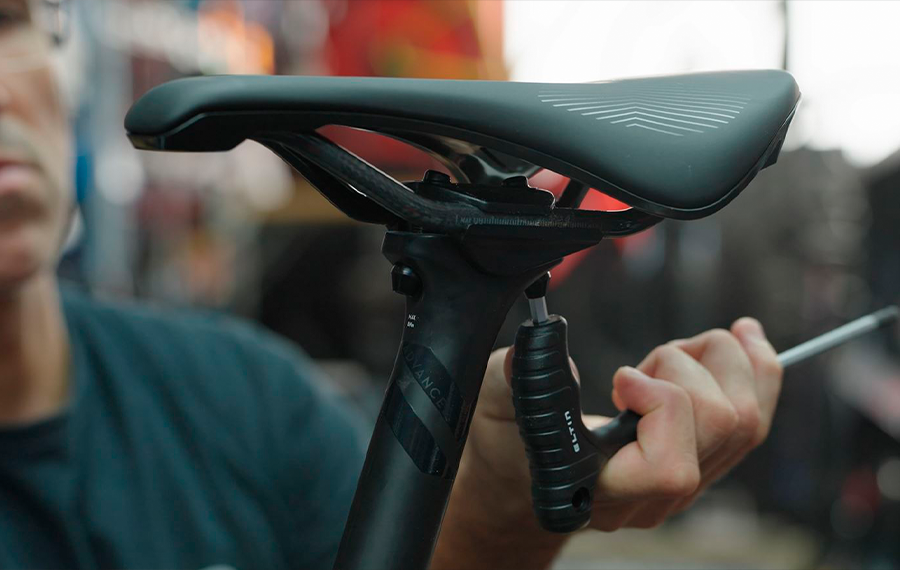
To be comfortable while riding your bike, it’s essential that both the saddle and its position are properly adjusted. For that, it’s highly recommended to visit a specialist for a bike fitting, which will determine your optimal position on the bike and help you avoid discomfort or potential injuries.
When installing the saddle, the first step is to adjust the angle. Regardless of the saddle’s shape, you should always avoid leaving the nose too high, as it can be uncomfortable. The angle is usually adjusted using the front and rear bolts on the seatpost clamp. Tightening the front bolt lowers the nose, and tightening the rear bolt raises it, so you need to balance both adjustments.
Next, adjust the saddle height. A good approximate method to find your ideal saddle height is to measure your inseam and multiply it by 0.885. The result is the distance from the center of the bottom bracket to the top of the saddle.
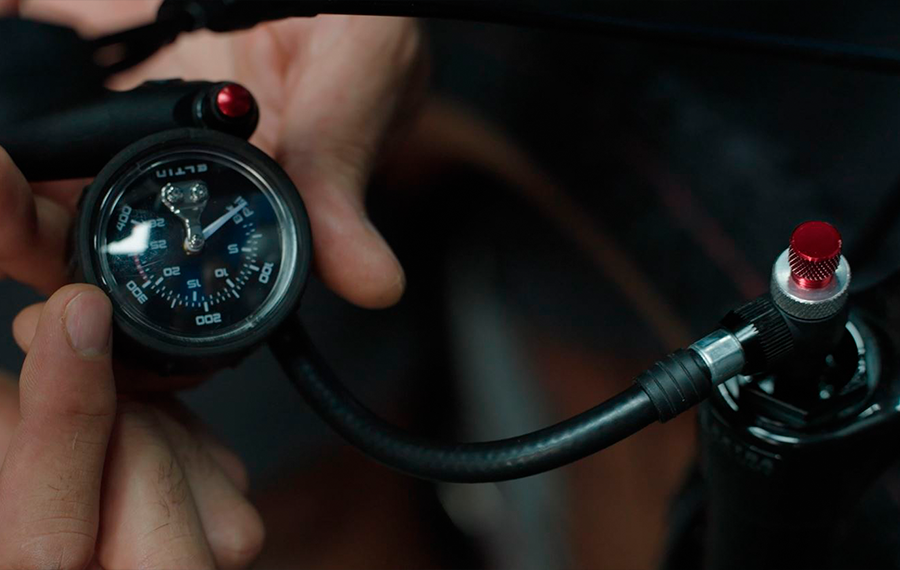
If you’re tuning a mountain bike, you need to check that the suspension pressure is correct. If it’s a hardtail, you’ll only have front suspension; if it’s a full-suspension bike, you’ll need to check both.
To do this, you’ll need a suspension pump, which will allow you to inflate the suspension to the PSI specified in the chart that’s usually found on a sticker on the suspension itself. This chart typically shows the recommended PSI based on rider weight ranges, so you’ll need to adjust the pressure according to your weight.
To confirm it’s set correctly, you can check the sag using the rubber o-ring and see if it settles around 20–30% of the fork’s travel. This is done while seated on the bike, bouncing slightly to allow the suspension to function normally.
We hope this video helped you learn a bit more about bike mechanics. If you have any questions or comments, we’ll be happy to answer them through the comments on this article, the reel, or the YouTube video.
And remember, the second video of the mechanics course is coming very soon. Don’t miss it!
#KeepOnCycling
Save products on your wishlist to buy them later or share with your friends.